Step 1: Confirm The Scene Is Safe (First 10 Minutes)
- Evacuate any room directly under the impact zone. A compromised truss can fail up to 30 minutes after initial contact.
- Cut power to affected circuits if drywall is wet or sagging. Standing water plus 120V wiring is the leading cause of post storm house fires.
- Stay at least 35 feet from any downed line. Treat every wire as live until the utility confirms otherwise.
- Do not climb the roof. Decking around an impact point can have a load capacity reduced by 60 to 80 percent.
- Photograph the scene from 4 ground angles before anything is moved.
- Shut off natural gas at the meter if you smell sulfur or hear hissing within 50 feet of the impact. Do not re light pilots until a utility tech clears the line.
- Move vehicles at least 25 feet from the structure. Secondary limb drop continues for 4 to 6 hours after the initial fall.
Step 2: Document For The Insurance Claim (Within 2 Hours)
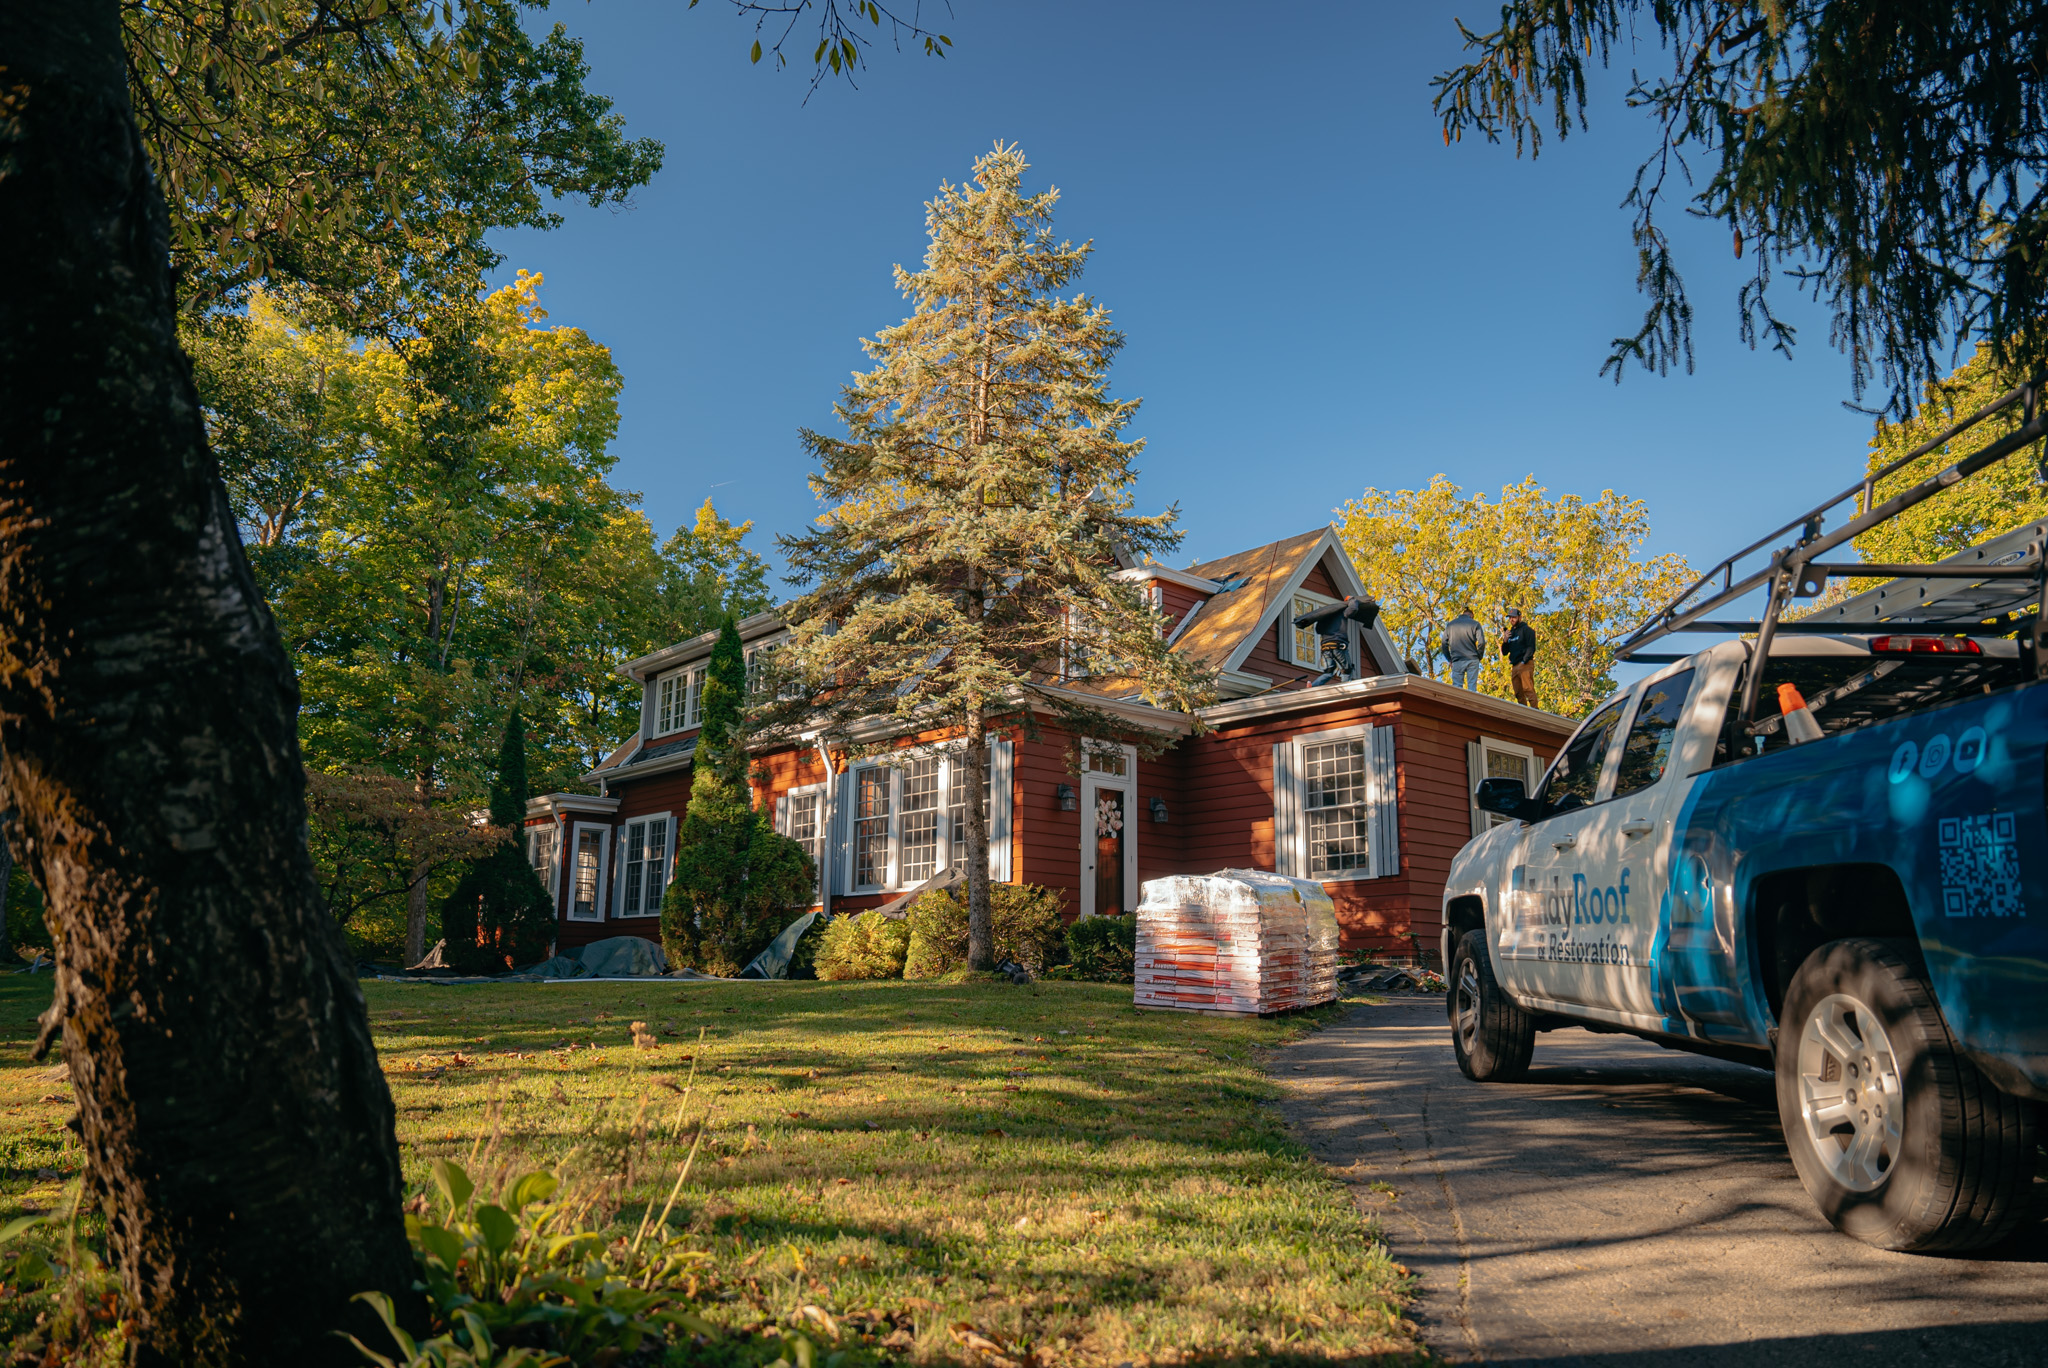
- Capture 12 to 20 photos minimum: wide shots, mid range, and close ups of impact, gutters, fascia, and interior ceilings.
- Record a 60 to 90 second video walkthrough with verbal narration of the time, date, and weather event.
- Note tree species and approximate trunk diameter. A 14-inch oak weighs roughly 2,000 pounds per 8 foot section.
- Save the National Weather Service event summary URL for the storm date. This supports causation.
- Call your carrier and open the claim before any tarp or tree removal work begins. Get the claim number in writing.
- Log every contractor, adjuster, and utility crew that enters the property. Record name, company, time in, and time out.
- Retain receipts for tarps, fans, dehumidifiers, and hotel stays. Most policies reimburse Additional Living Expense at actual cash value with no deductible offset.
For a deeper look at how documentation translates into payout, our walkthrough on storm damage insurance claims explains adjuster expectations line by line.
Step 5: Structural And Decking Assessment
- Inspect rafters and trusses from inside the attic. Cracks longer than 6 inches or deflection greater than 1/2 inch over 8 feet require sistered repair or replacement.
- Probe sheathing with an awl. OSB that crushes under 5 pounds of pressure is saturated and must be replaced.
- Check ridge board alignment. A shift of more than 1/4 inch indicates lateral truss displacement.
- Measure ceiling sag with a 4 foot level. More than 3/8 inch deflection means drywall replacement, not just patching.
- Document insulation compression. Blown in cellulose loses R-value permanently once compressed below 60 percent of original depth.
- Test moisture content in framing with a pin meter. Readings above 19 percent require drying before any sheathing is reinstalled.
If structural members check out and damage is contained to the field of the roof, a targeted roof repair is often the right scope. When trusses are cracked or impact spans more than 2 squares (200 square feet), full replacement usually wins on cost and warranty.
Step 6: Shingle And Underlayment Specifications For The Repair
- Match shingle line, color lot, and manufacturer. Owens Corning Duration and Malarkey Vista lines have specific SKU codes printed on each bundle wrapper.
- Synthetic underlayment at 8 oz per square yard minimum. Felt 15 is acceptable only on matched repairs to existing felt installations.
- Ice and water shield extending 24 inches past the interior wall line, per Gatewood Lakes code in zones with average January lows below 20 degrees.
- Drip edge at 1.5 inches face, 3 inches roof leg, hemmed. Replace any bent or kinked sections.
- Ring shank nails, 1.25 inch minimum, 6 nails per shingle in high wind zones common across Gatewood Lakes.
- Starter strip with factory applied sealant at eaves and rakes. Cut three tab shingles are not an acceptable substitute under most manufacturer wind warranties.
Step 4: Tree Removal Sequencing
- Hire a licensed and insured arborist, not a general handyman. Verify a $1 million general liability minimum.
- Removal sequence: top branches first, trunk sections second, base last. Cutting the trunk first transfers weight unpredictably onto the roof structure.
- Section weights should not exceed 200 pounds when lifted off the roof plane. Heavier pieces require crane support.
- Have a roofer on site or scheduled within 24 hours of tree removal. The tarp must be reset the same day.
- Save a 2 to 3 foot trunk section if your insurer requests evidence of species or rot condition.
- Confirm the arborist carries a separate workers comp policy. Homeowner liability often excludes injuries to uninsured tree crews working above 12 feet.
- Request a written removal plan that identifies rigging points, drop zones, and crane swing radius before any cuts are made.
Step 3: Emergency Tarp And Water Control (Within 24 Hours)
- Specify a 6 mil reinforced polyethylene tarp at minimum. Standard hardware store blue tarps tear within 2 to 3 weeks.
- Tarp must extend 4 feet beyond the damaged area on all sides and run over the ridge where possible.
- Anchor with 1x3 furring strips and 2-inch roofing nails or screws every 12 inches along the perimeter.
- Inside the home, place 5-gallon buckets under active drips and puncture sagging drywall bubbles with a screwdriver to release trapped water in a controlled stream.
- Run dehumidifiers at 30 to 50 percent relative humidity in affected rooms. Mold colonization begins at 48 to 72 hours of sustained moisture.
- Pull saturated insulation within 12 hours. Wet fiberglass holds 11 times its dry weight in water and accelerates ceiling joist rot.
- Lift area rugs and move upholstered furniture out of the impact room. Pad floors with rosin paper if foot traffic is unavoidable.
A Closing Note on Structural Sign-Off
The step that should never be skipped after a tree strike is confirming the structure is sound before the roof is closed up. Once new decking and shingles go on, any cracked rafter or compromised truss underneath is hidden again, this time behind a repair that looks finished. A proper Gatewood Lakes tree-strike repair documents the framing condition, addresses any structural damage first, and only then rebuilds the roof, with photos kept throughout for the insurance file. That sequence is what separates a roof that is genuinely repaired from one that is merely covered, and it is the part a rushed crew is most likely to leave out. On a tree strike, the order of operations is the whole job, and structural sign-off comes before the last shingle.
Step 7: Final Inspection Checklist
- Verify shingle exposure at 5 5/8 inches for standard 3-tab equivalents.
- Confirm flashing replacement at any sidewall or chimney within 6 feet of the impact zone.
- Pressure test the attic for daylight visibility. Zero pinholes is the standard.
- Walk gutters for embedded shingle granules. More than 1 cup of loose granules indicates accelerated wear that should be noted in the supplement.
- Request the manufacturer warranty registration confirmation in writing within 30 days of completion.
- Confirm Gatewood Lakes Roofing provides a written workmanship warranty of 5 years minimum, separate from the manufacturer material warranty.
- Schedule a 12 month follow up inspection. Settling, fastener back out, and sealant cure issues surface in the first heat cycle after install.
For homeowners weighing whether to upgrade during the rebuild, our breakdown of Class 4 impact resistant shingles covers the premium reduction many Gatewood Lakes carriers offer, often 10 to 25 percent annually.